31 October 2021
Microsoft Lists in 1 Minute
Technical article about Microsoft Lists in 1 Minute
automatically
create
delete
item
list
update
3 min read
Technical article about Microsoft Lists in 1 Minute
Let’s talk about Microsoft List. You can see “List” and others Mmicrosoft 365 App’s. You can use this awesome tool to create list to track informations (Assets, invetory, customers, issues ecc) and collaborate with your team members. If you know SharePoint List’s, this is appear very familiar.
Click on the top-left corner:
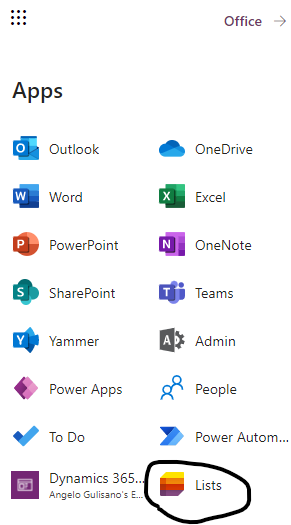
App “Lists” and others Mmicrosoft 365 Apps…
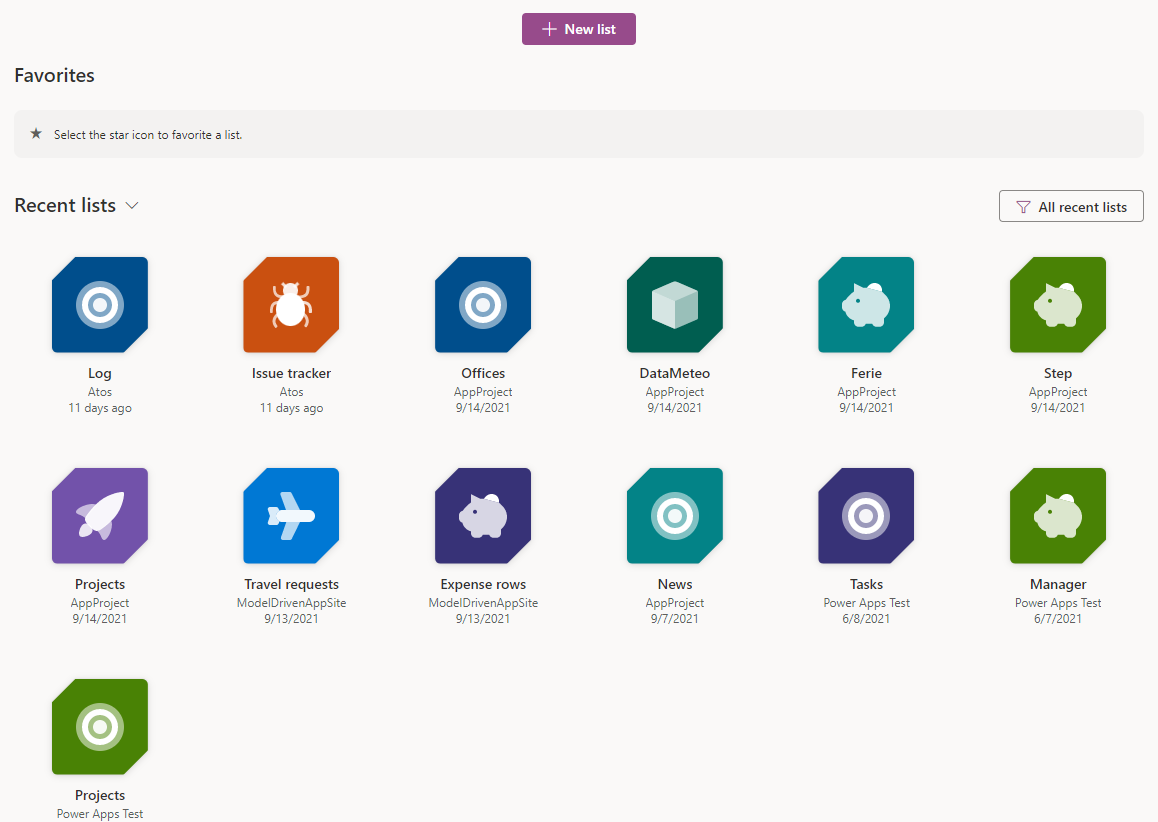
Now you can View and Open your recent Lists or create New List. Click on button “+ New List”.
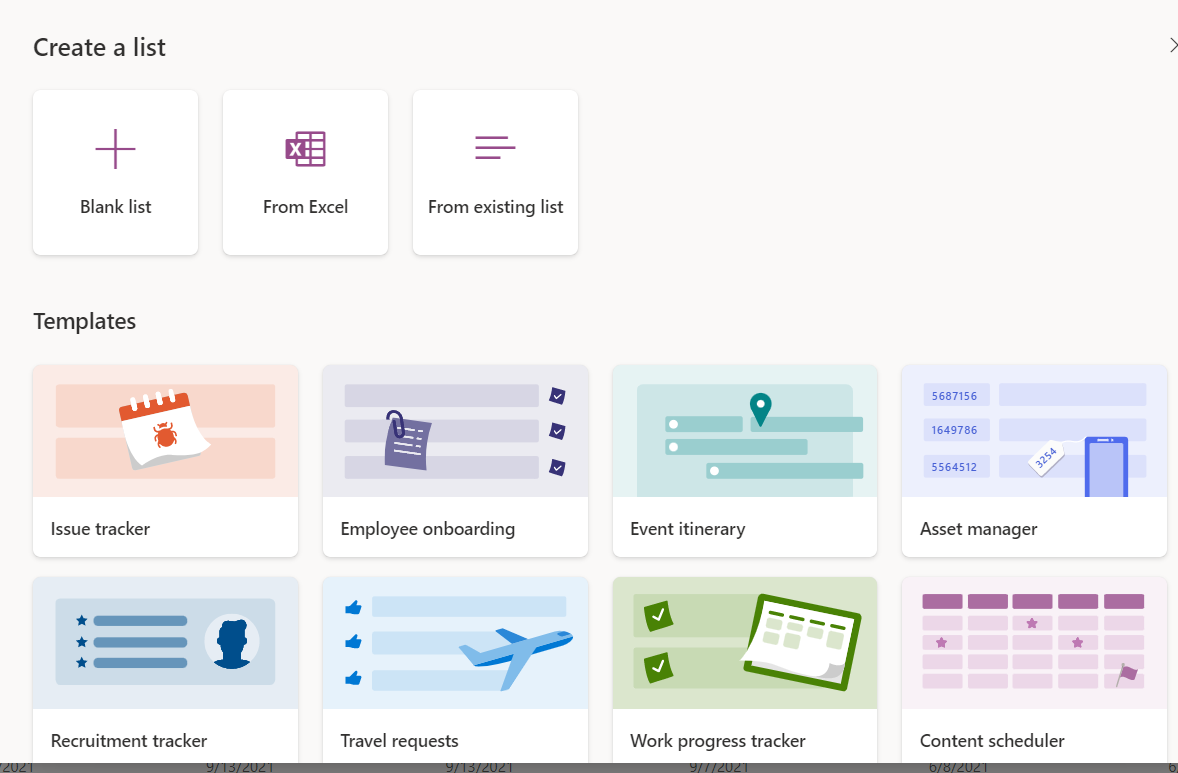
Now you have 4 choises:
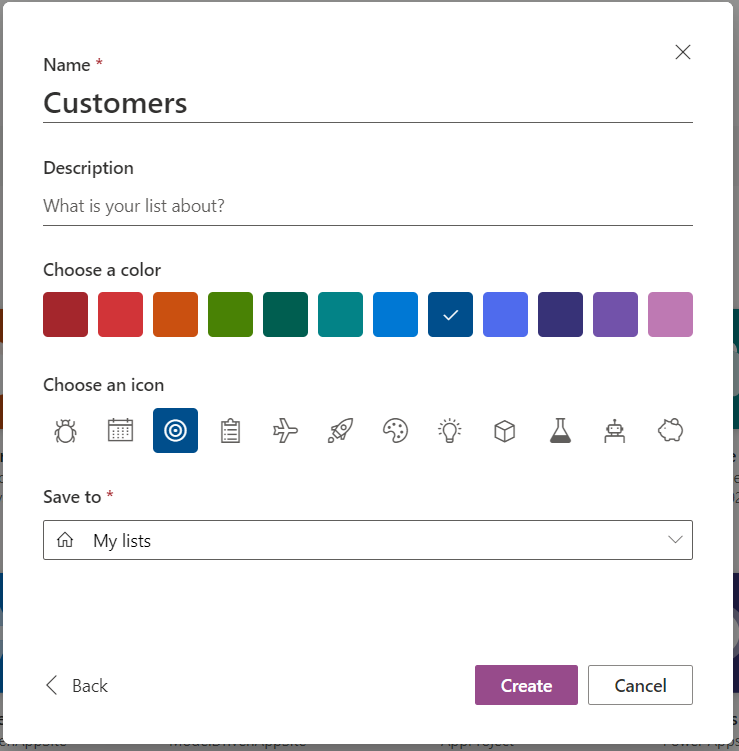
Click on “Blank list”, add list Name, description, color, icon, choose where do you want to save your list (In “My List” or one of your SharePoint sites) and click create.
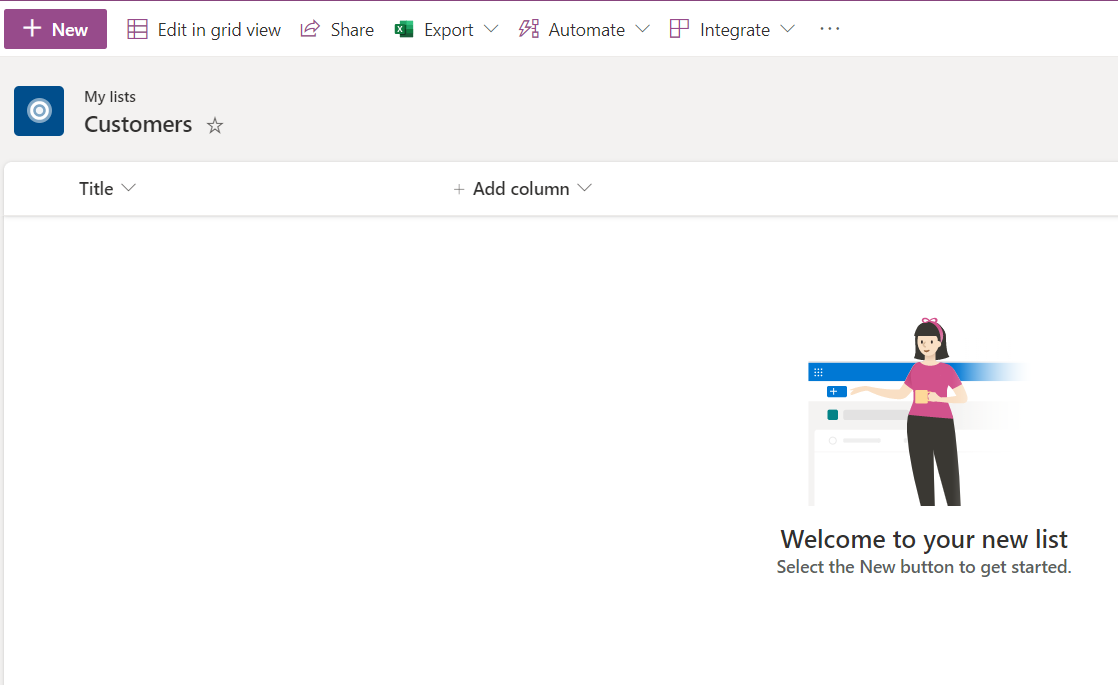
Now we have our Customer list and we can start to use it. First of all, we need to create some columns. Click on “+ Add Column”
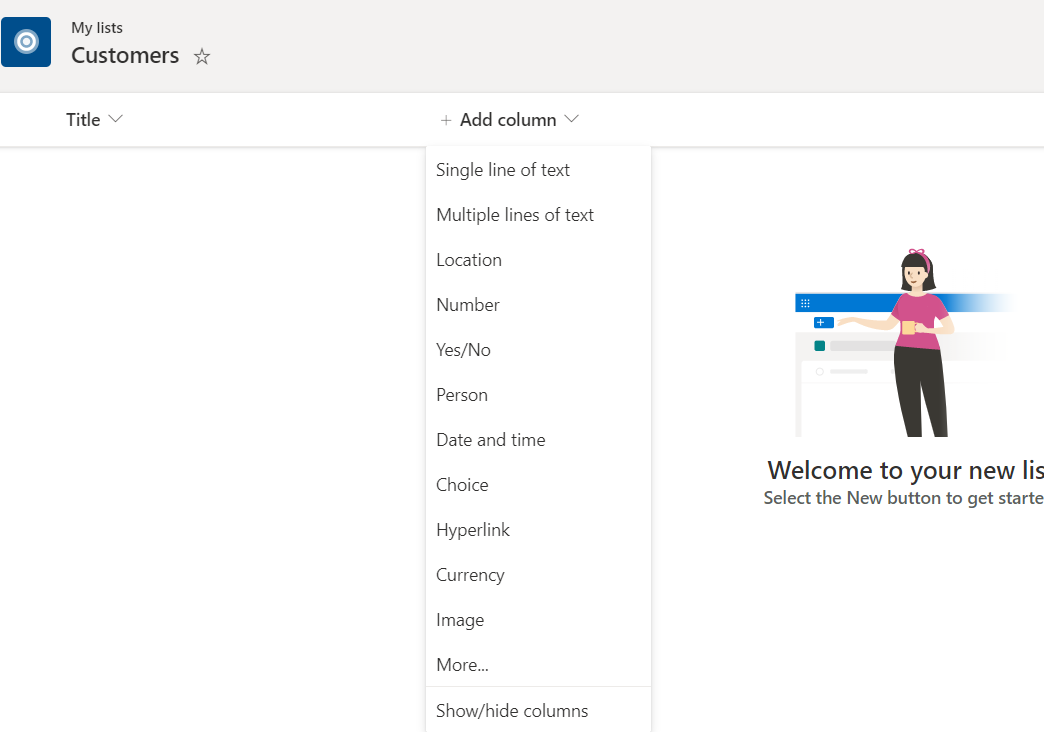
Now you must choose type of date you want to store in this column. Don’t worry if you don’t know what it is it…Ask yourself: “what I want to store in this column? Name of customer? Descriptions? Logo? if the customer is active or now?” This is the key, understand what you need to save. Let’s see common type of column:
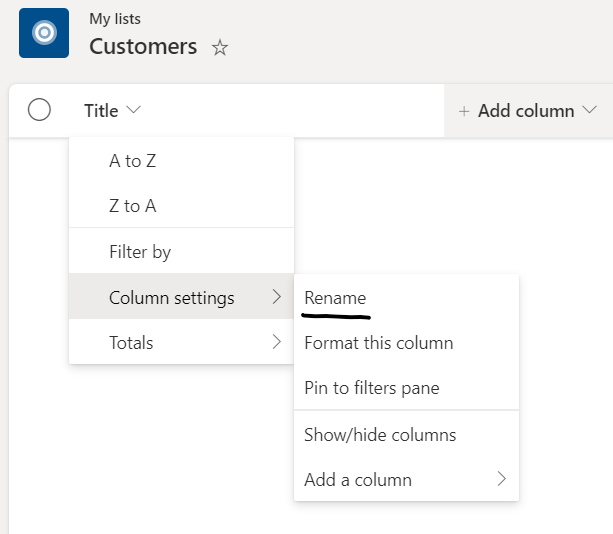
Keep mind, you have by default “Title” field , in your list. You can rename it.
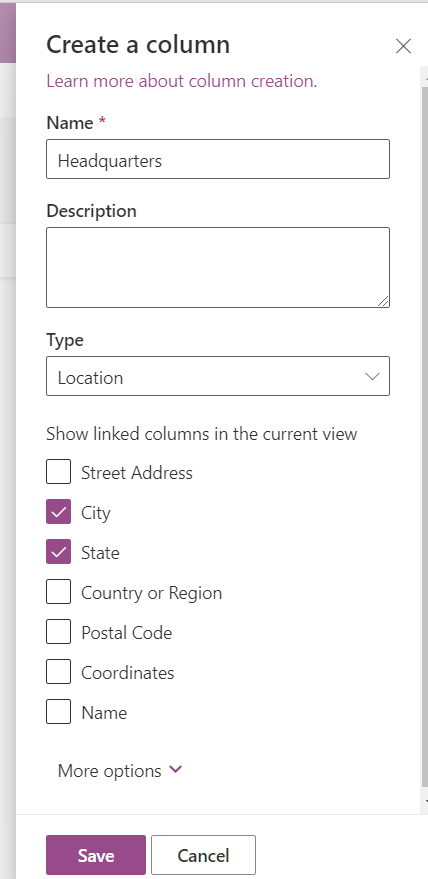
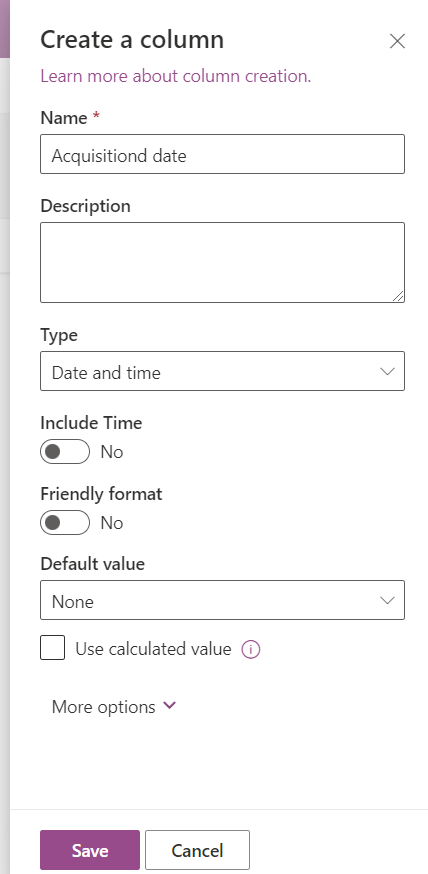
Now I rename “Title” with “Customer”, and create “Headquarters” and “Acquisitiond date”:
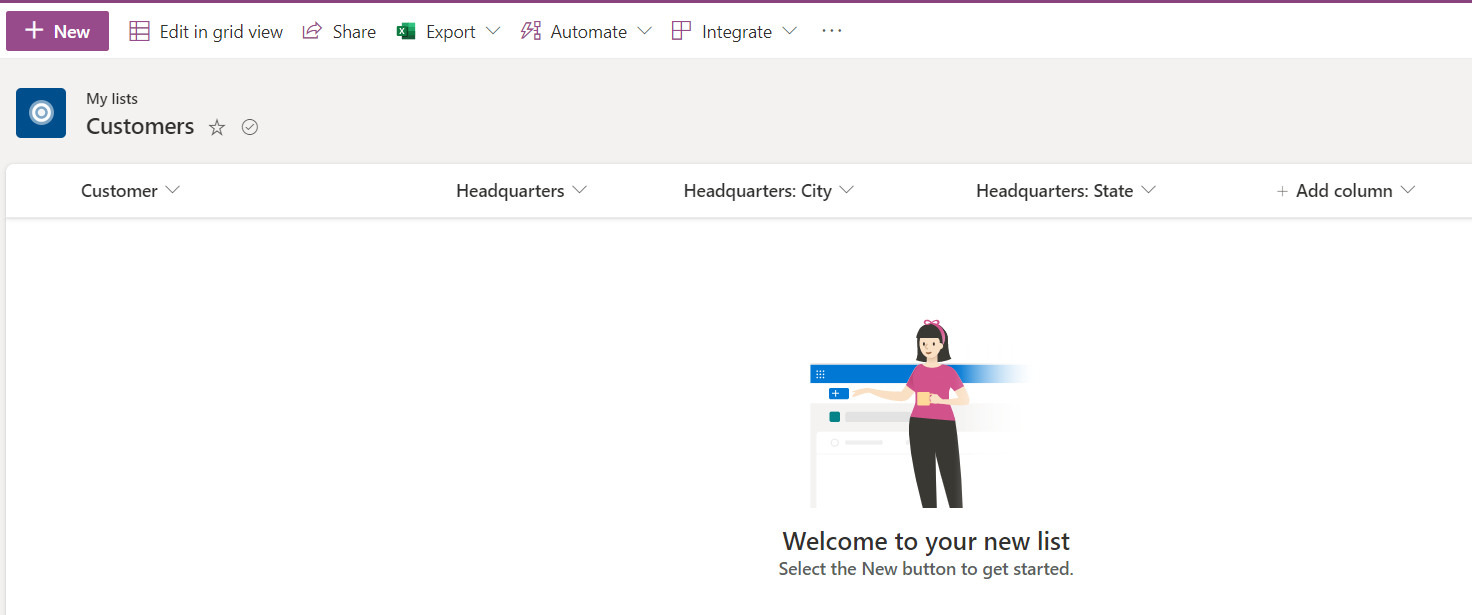
Now your list should appear like this:
Now you can click on “New” to add one record a time, or click on “Edit in grid view” to edit it like’s Excel file:
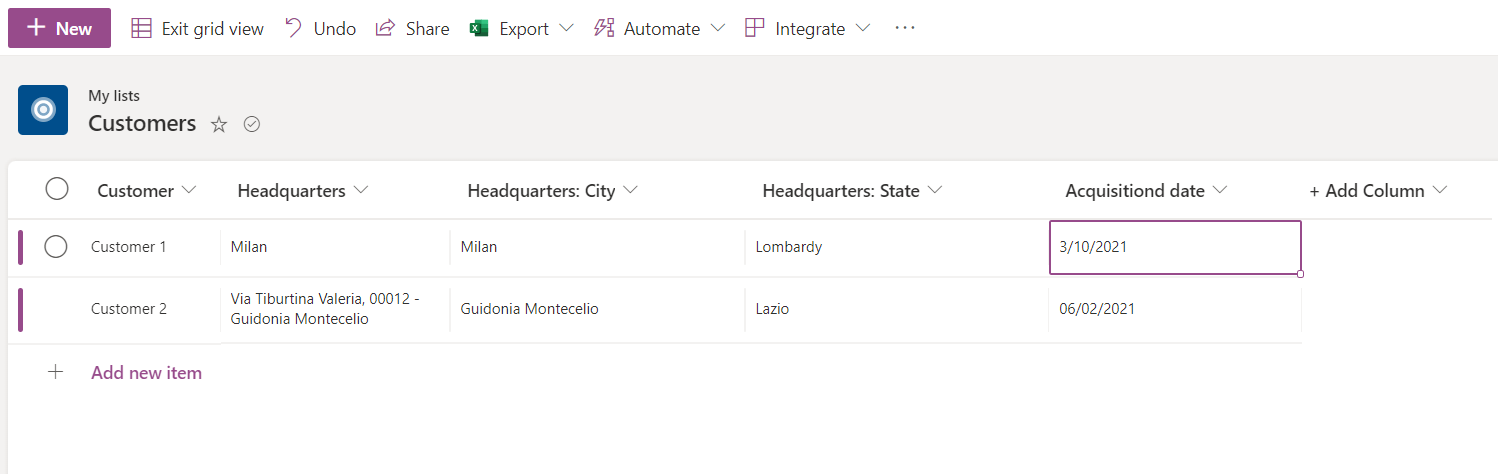
Keep mind, remember to click on “Exit grid view” to save.
I hope it help you..let me know with comment if you want another article on this argumeent. For example how to collaborate with colleague on this list, or how to create rules to send an email when people do something to this list or something else.