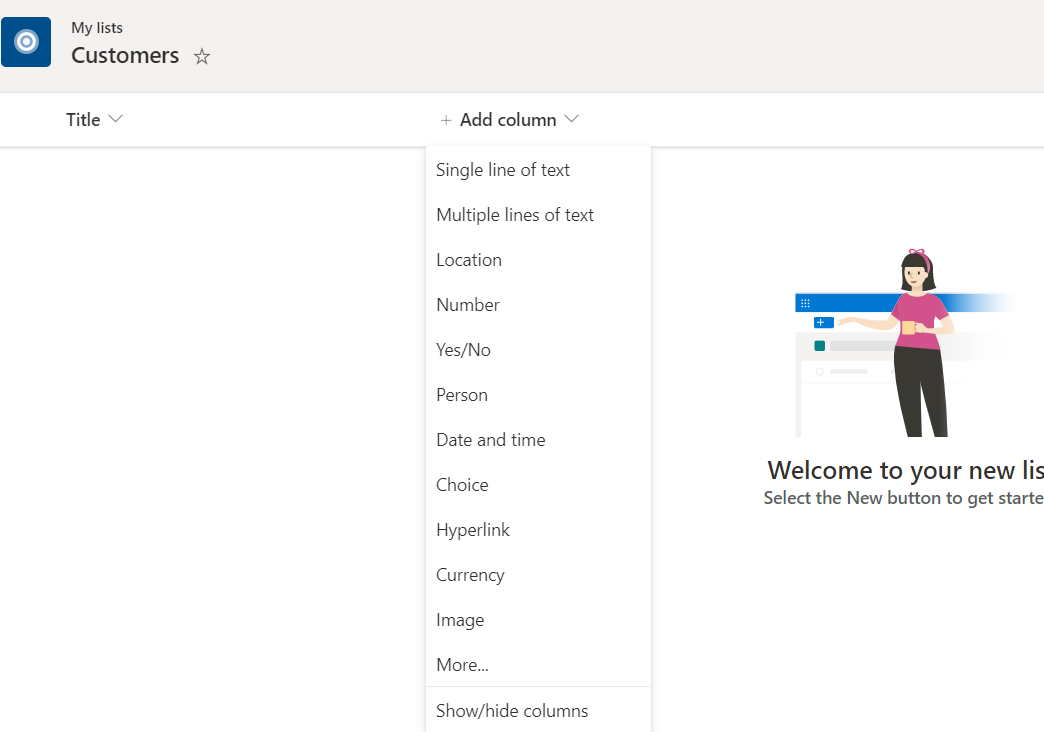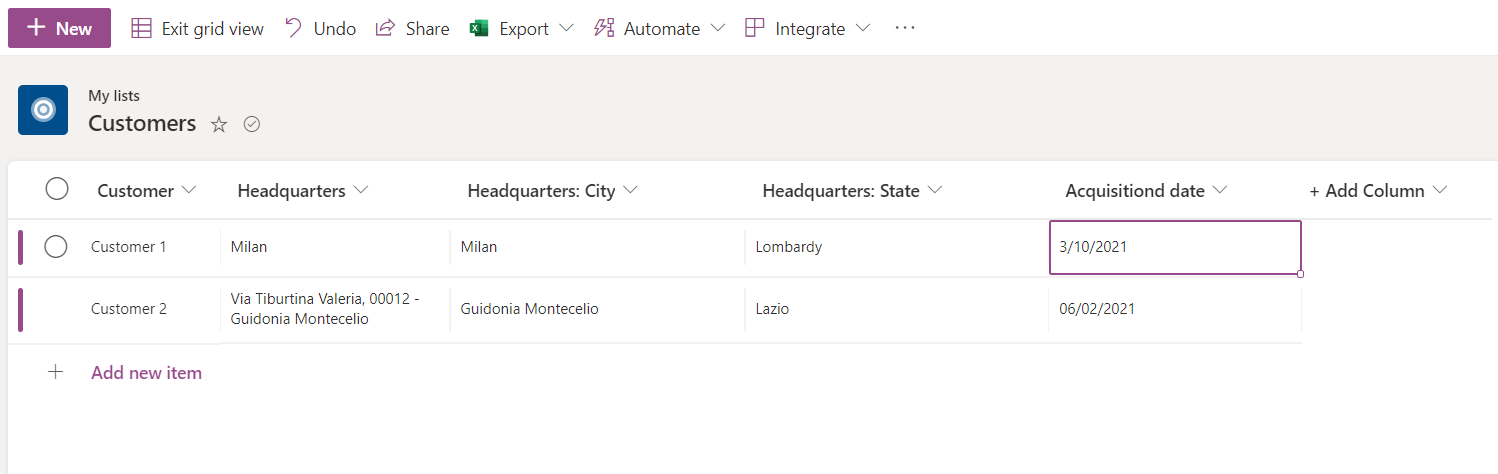
Hello, new Post Today. We’re going to understand how to use Patch function with SharePoint list. For this Example I used a “Task List” who contains text , choose , lookup and numeric columns.
Let’s see “Patch” Function.
Syntax
Patch( DataSource, BaseRecord , ChangeRecord1 ,ChangeRecord2,…)
Parameters:
- Data source: the data source who contains your records. In our case is our SharePoint list.
- BaseRecord : the record to update or use Defaults to create new one.
- ChangeRecord(s): one or more record who contains properties to modify.
Pills:
- You can use Patch tu create new record or update existing record.
- Patch will update only specified properties, other will ignored.
Example
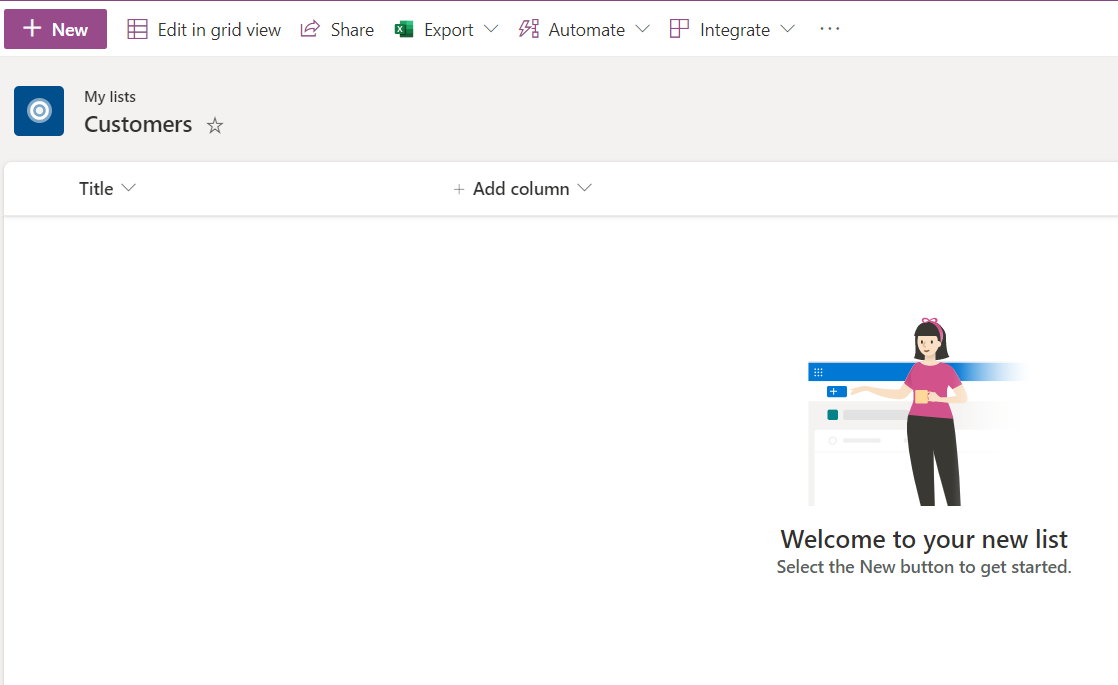
Here our task list:

Create new record:
Patch(
    Tasks,
    Defaults(Tasks),
    {
        Title: "New Task",
        Description: "Our task descriptions",
        Status: {Value: "New"},
        Project: {
            '@odata.type': "#Microsoft.Azure.Connectors.SharePoint.SPListExpandedReference",
            Id: 1,
            Value: "Project 1"
        },
        ProjectID:1000
    }
)
Key points:
- Title and Descriptions are text field, so we should pass text value. Same for ProjectID who is Number and we must pass numeric value.
- For Choose value, function expect record: {Value: “New”}
- For Lookup column, we must pass record with ‘@odata.type’, Id and Value:
 '@odata.type': "#Microsoft.Azure.Connectors.SharePoint.SPListExpandedReference",
            Id: 1,
            Value: "Project 1"
        }
That’s all! If we want to update an existing record? You must get it and pass to patch function instead Defaults(). In this case, I used Lookup function to retrieve record to update:
LookUp(Tasks,ID=4)So, complete code is:
Patch(
    Tasks,
    LookUp(Tasks,ID=4),
    {
        Title: "Old Task",
        Description: "Our task descriptions",
        Status: {Value: "New"},
        Project: {
            '@odata.type': "#Microsoft.Azure.Connectors.SharePoint.SPListExpandedReference",
            Id: 1,
            Value: "Project 1"
        },
        ProjectID:2000
    }
)
This is the official link of patch function.
I hope this post should help you.